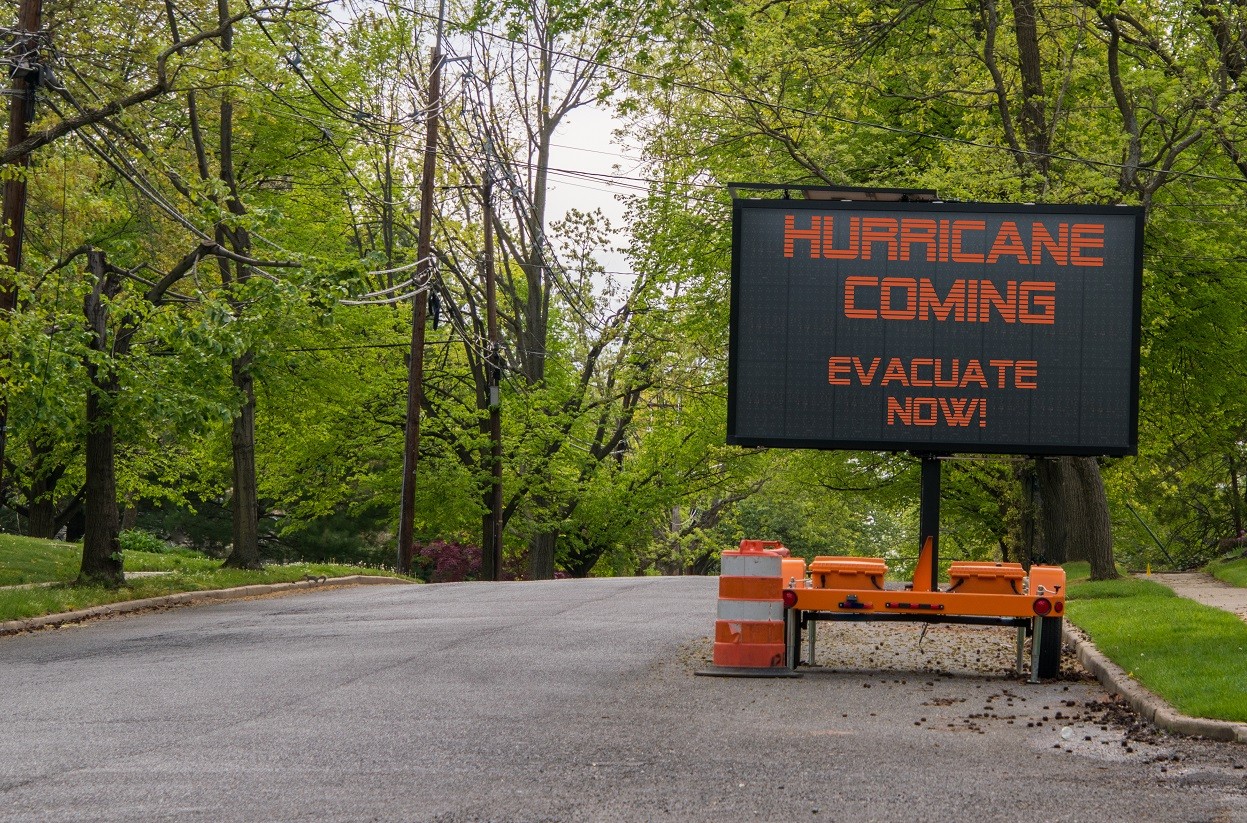
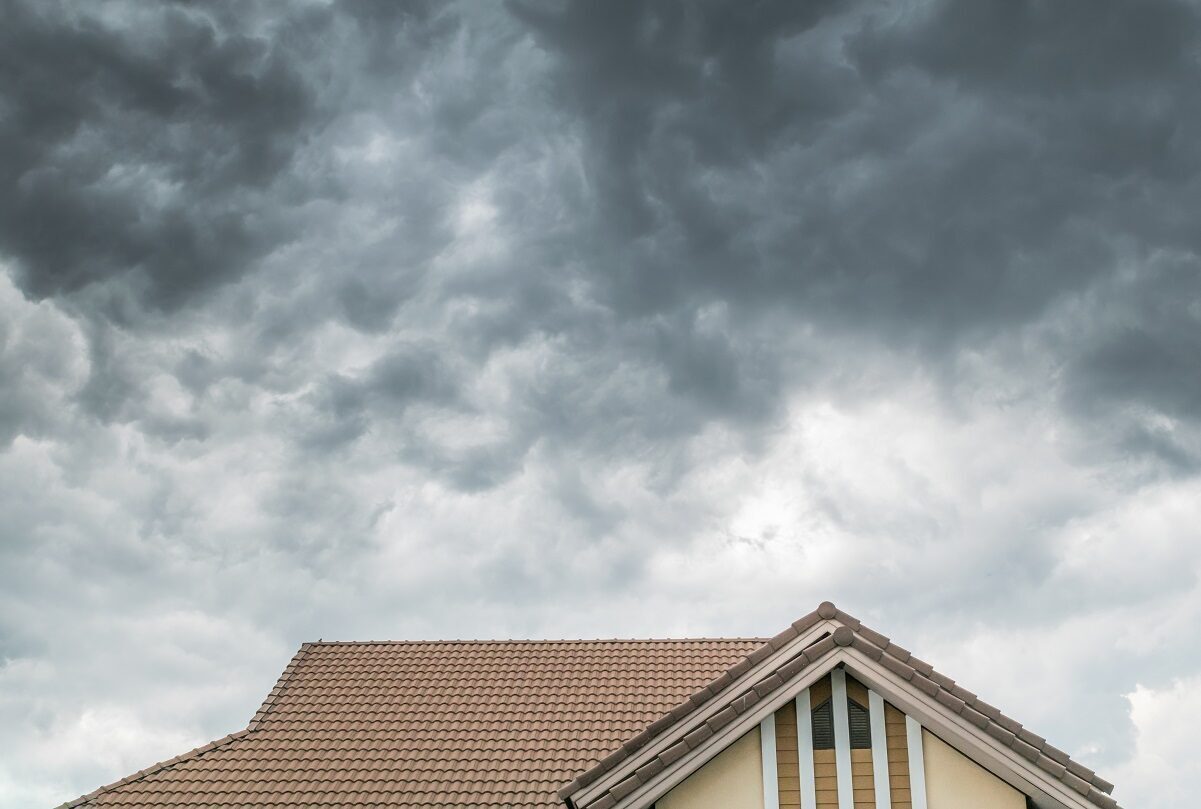
FEMA Shares How to Prepare Your Home and Family for a Hurricane
While the 2026 Hurricane Season is projected to be less intense than previous years, forecasters are still projecting more than a dozen named storms, including
While the 2026 Hurricane Season is projected to be less intense than previous years, forecasters are still projecting more than a dozen named storms, including
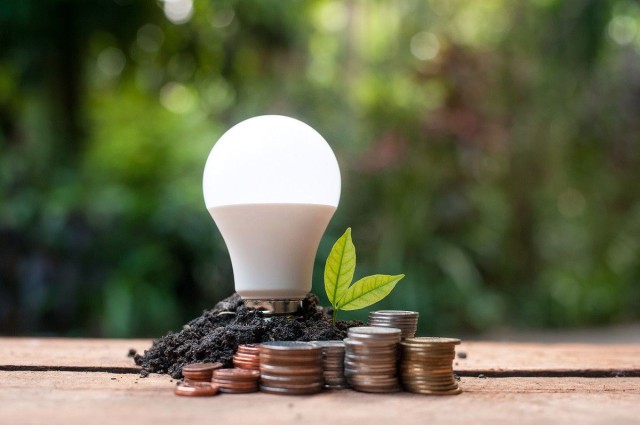
How do you make your home more comfortable, avoid pollution linked to global warming, and lower your monthly energy bill all at once? The answers
Pete and his family say the pictures of their destroyed Illinois home don’t do the damage justice. At one a.m., on a night like any
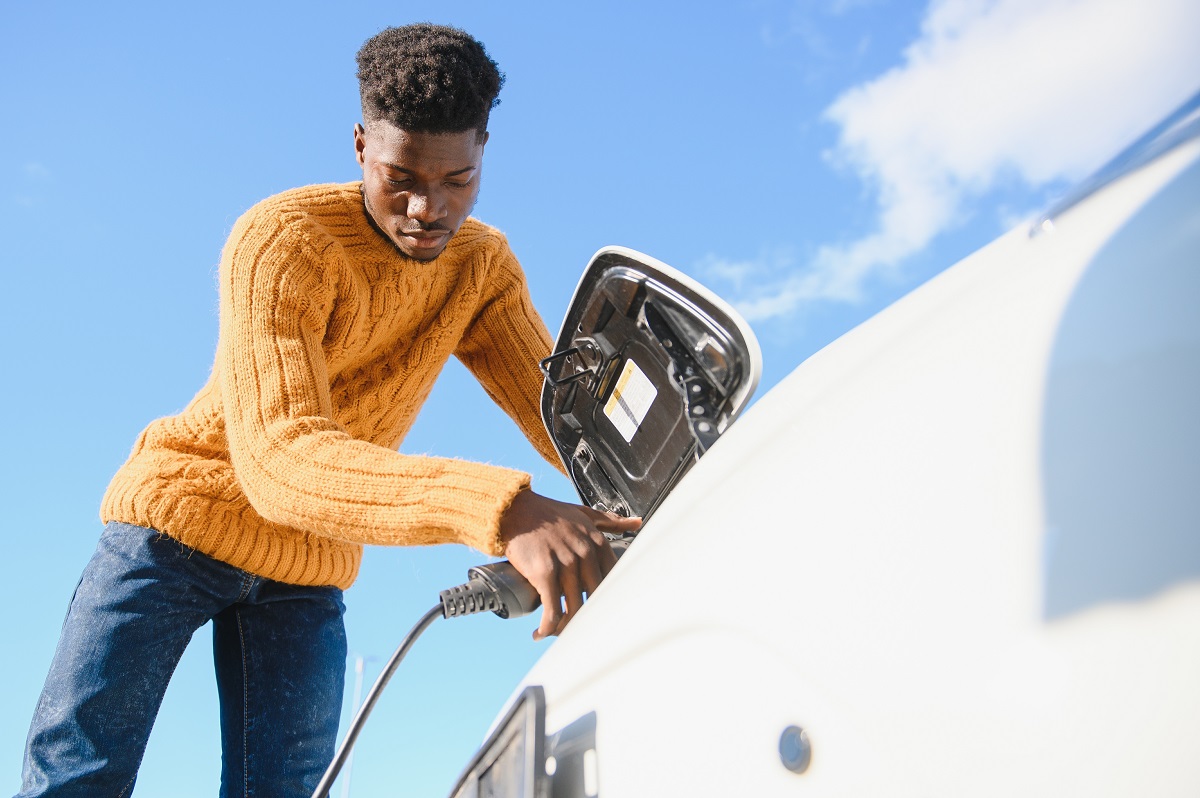
Electric vehicles (EV) are quickly becoming mainstream. According to the Argonne National Laboratory, more than 3.4 million EVs are on American roads today, and they
Rising utility bills, rolling summer blackouts, and the drastic effects of climate change have led many to wonder, “What can I do to help lower
Last October, one of our team members returned home from a vacation to find three inches of water in her basement. Unfortunately, her water heater,
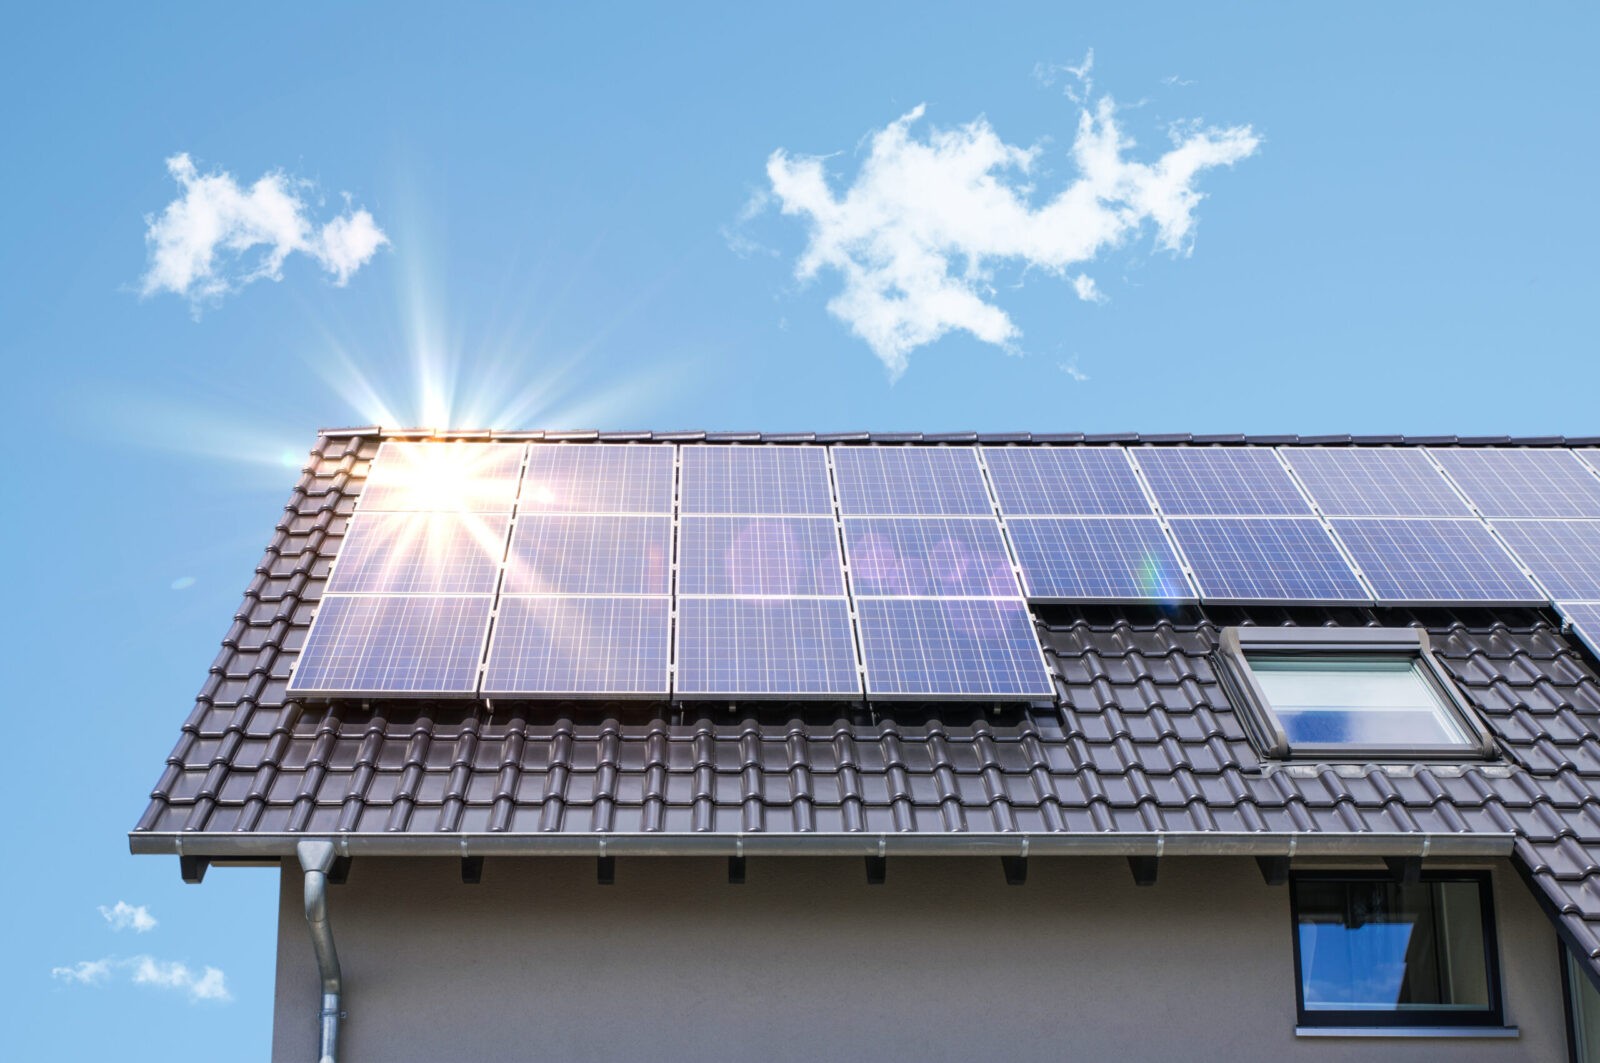
In 2020, solar energy accounted for 3% of the U.S. electricity generation. The U.S. Energy Information Administration projects that it will account for 5% of U.S. electricity
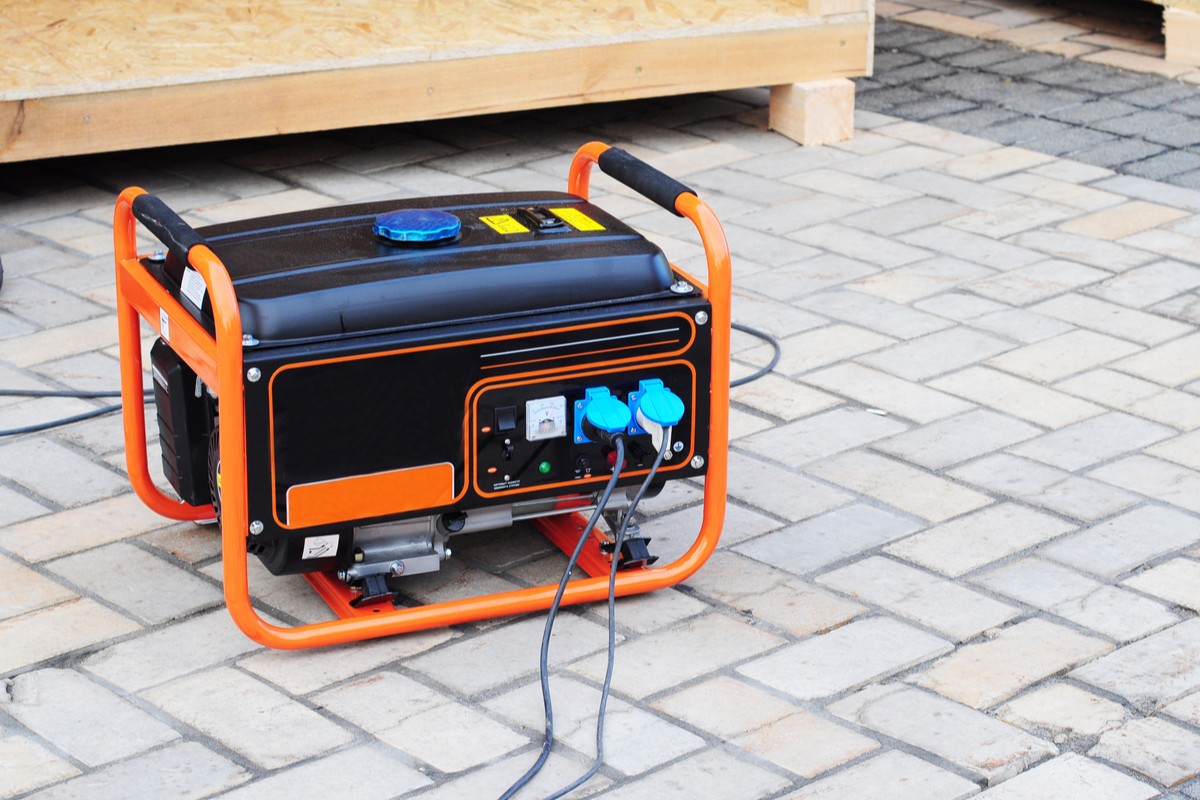
Portable generators are typically used after natural disasters, such as hurricanes or massive snowstorms. Unfortunately, when disaster strikes, people tend to panic, and safety isn’t
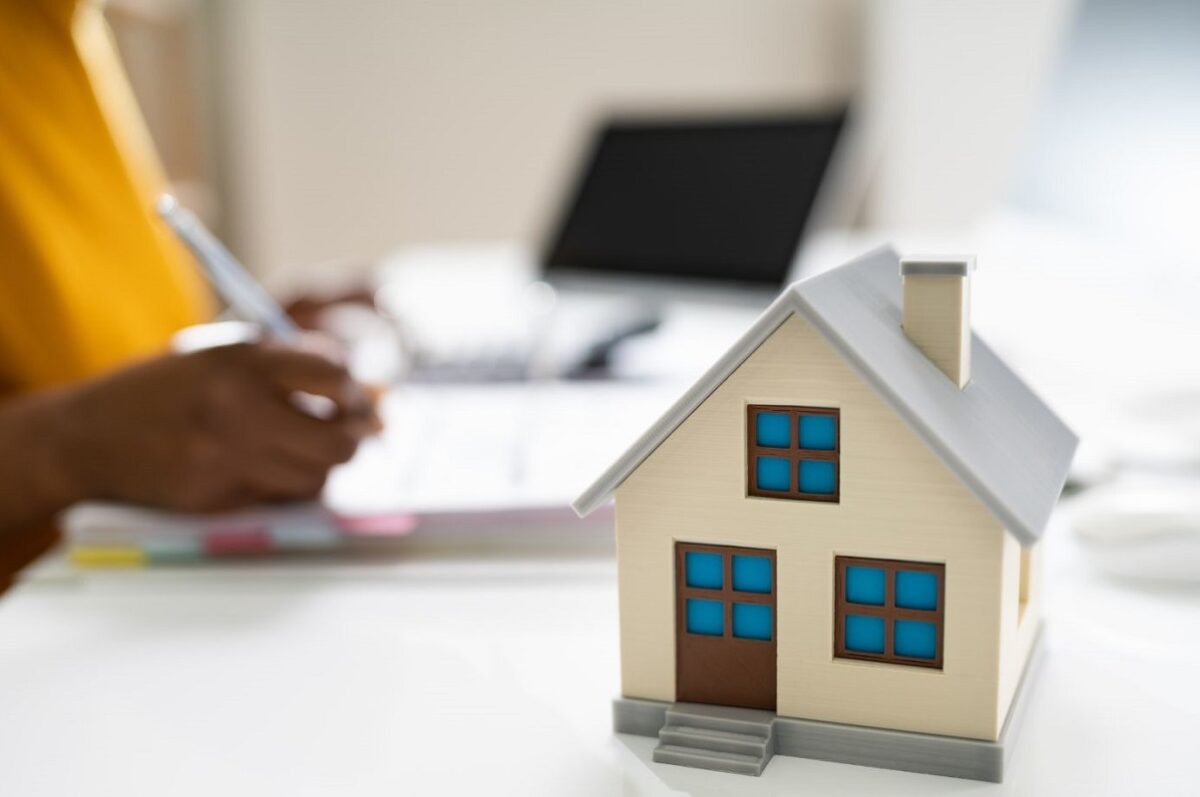
Many new homeowners struggle with home maintenance costs. An easy way to save money – and help the environment! – is to make your home