
Vacation-Ready? 16 Easy Ways to Keep Your Home Safe While You’re Away
While it’s great to get away every once and a while, going on vacation can leave your home vulnerable. Will it be safe without you?
While it’s great to get away every once and a while, going on vacation can leave your home vulnerable. Will it be safe without you?
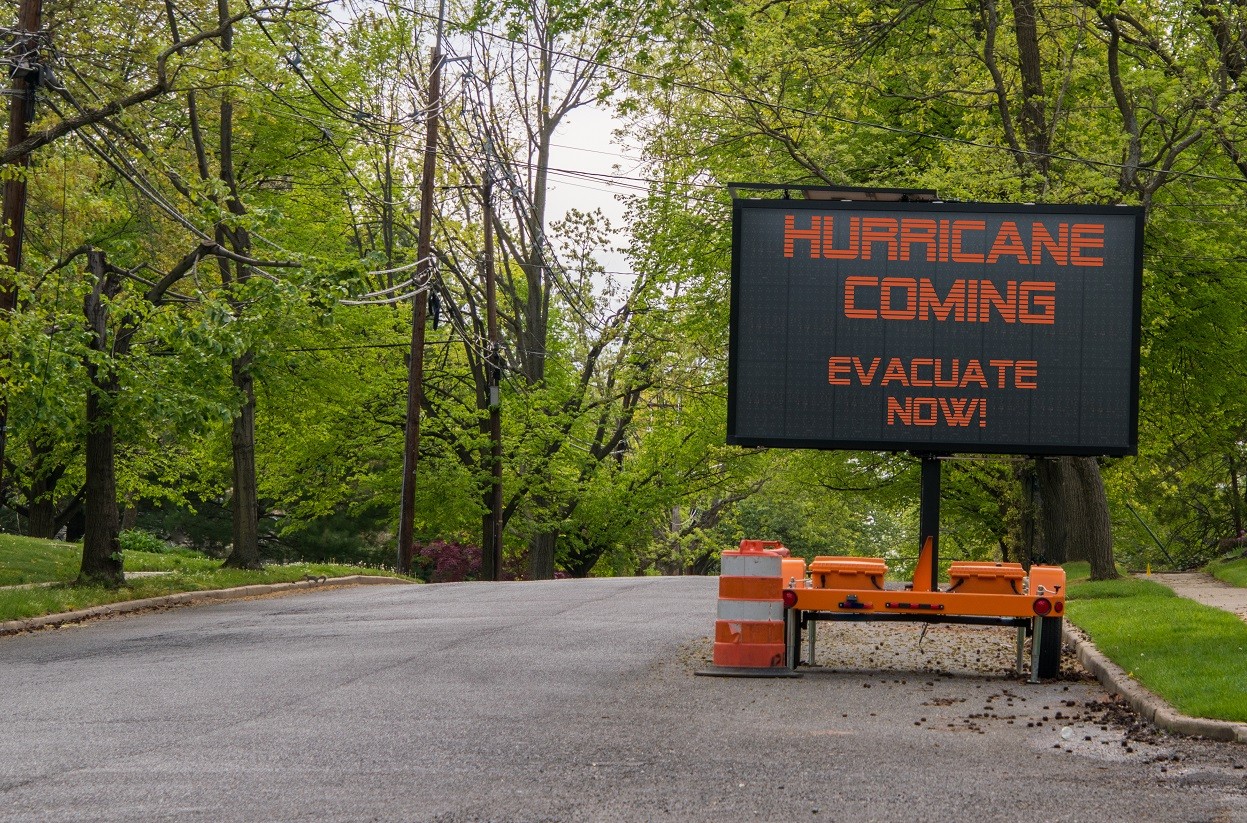
While the 2026 Hurricane Season is projected to be less intense than previous years, forecasters are still projecting more than a dozen named storms, including
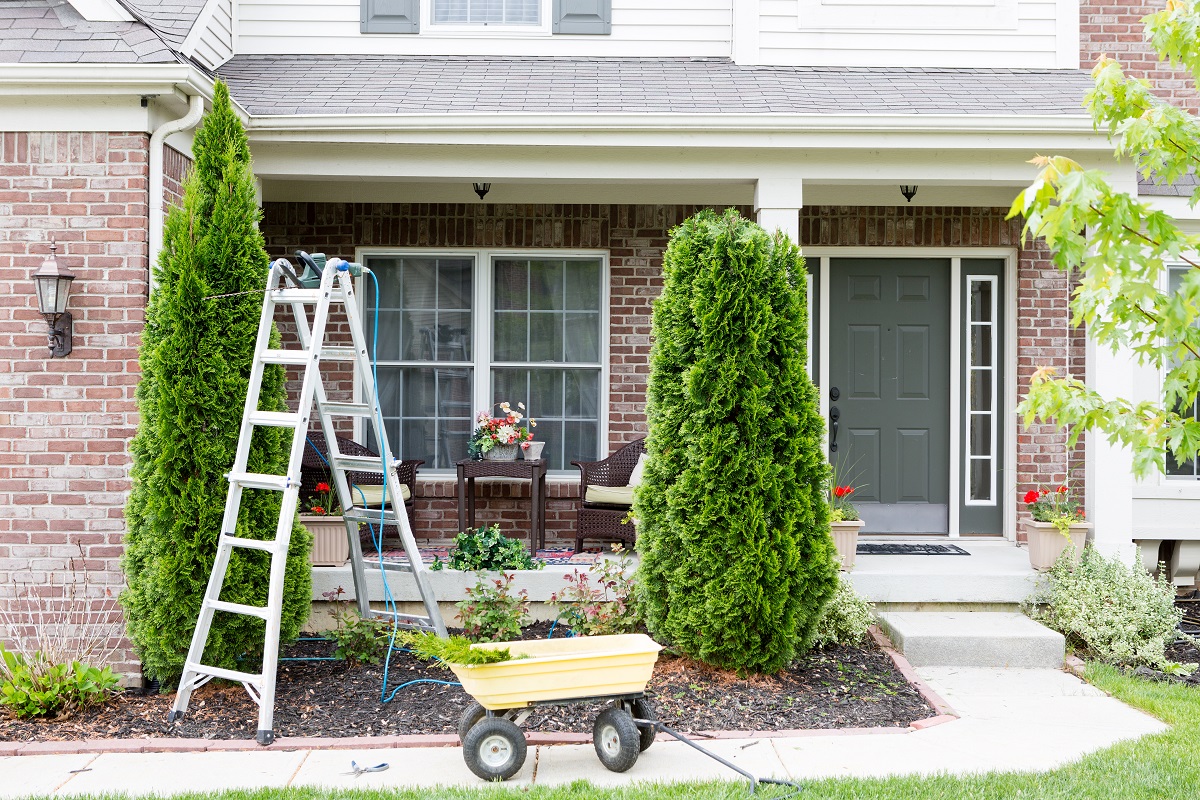
Spring brings showers, flowers, and unfortunately, home maintenance tasks. Before summer’s harsh storms and heat roll in, get your home ready with these easy spring
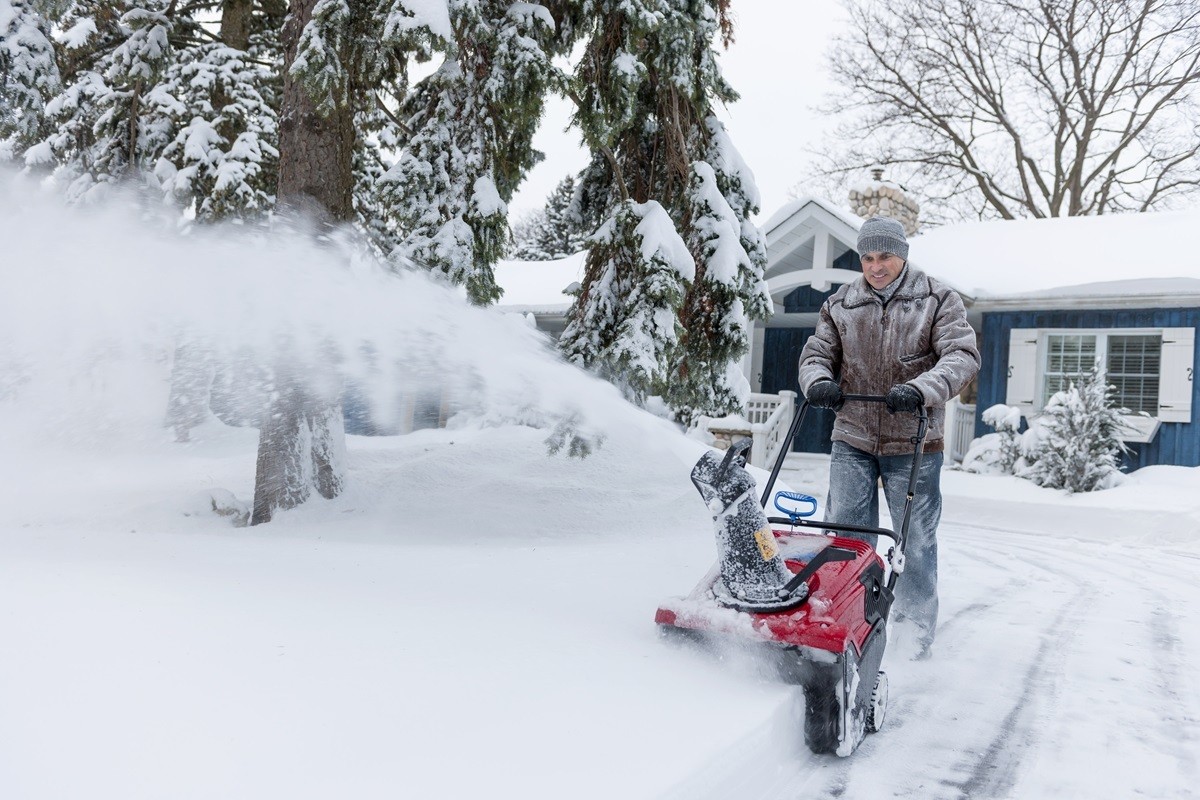
While Bing Crosby may love walking in a winter wonderland, the cold temperatures and freezing precipitation can do a number on your home. That’s why

The winter holidays are here! Before you begin your celebrations (if you haven’t already), here are 12 holiday decorating tips you need to know that
Even though Halloween is rapidly approaching, your home doesn’t have to be a scary place (…unless you want it to be). That’s why we’re coming
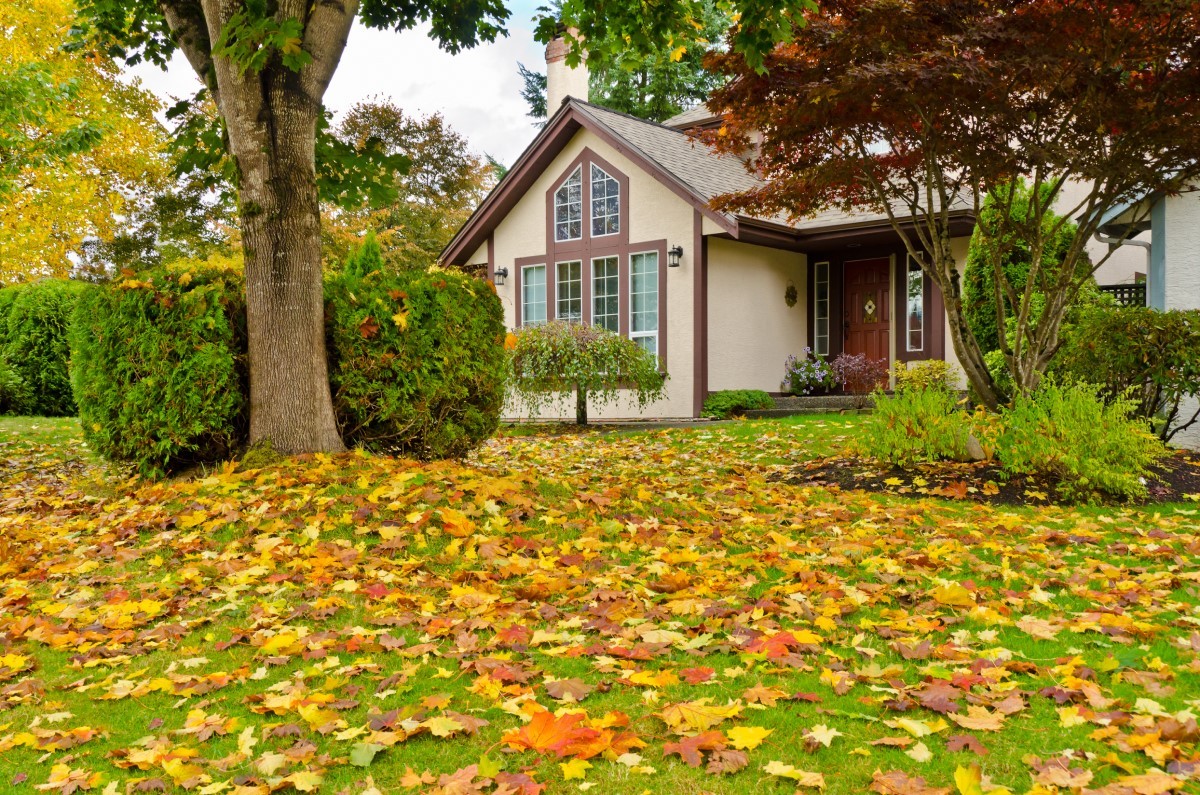
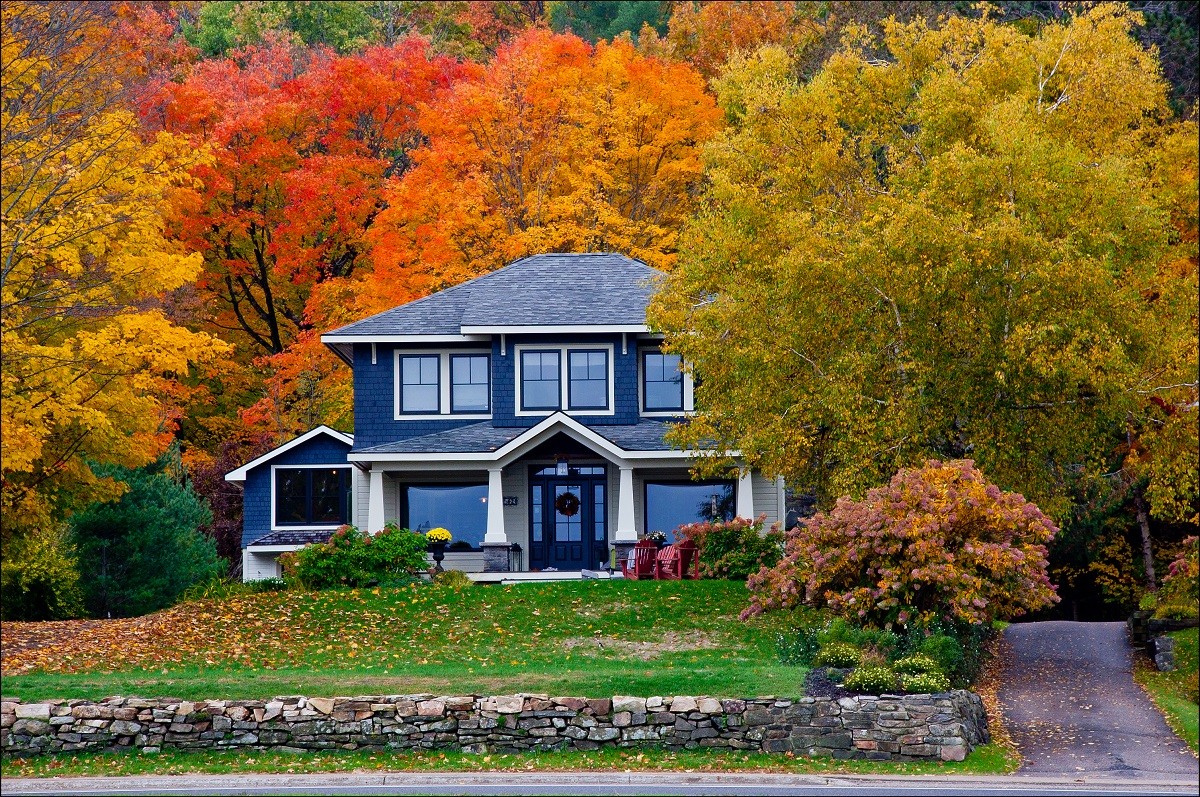
Where has the year gone? It’s already fall! As more homeowners are improving their homes, we wanted to help by giving you the prime fall home
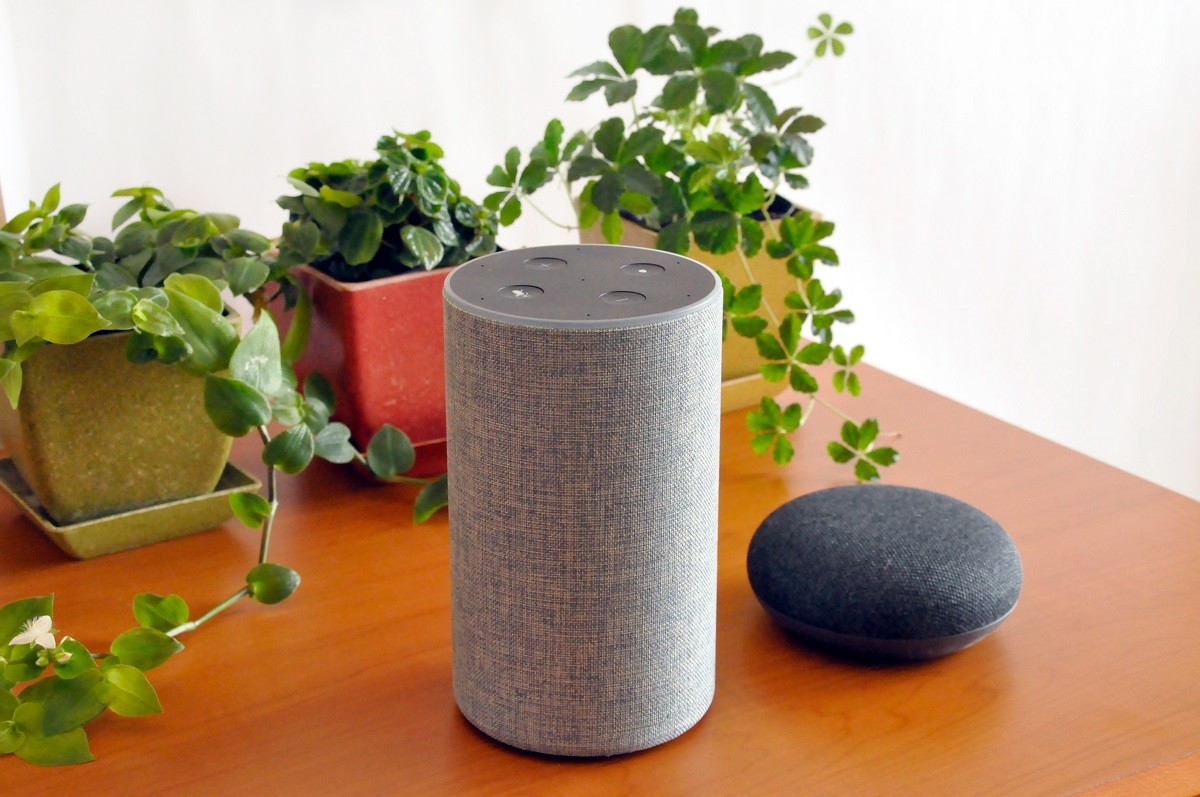
The average American home now has 20.2 connected devices inside of it, and by 2025, the number of smart homes in the U.S. is expected
Halloween is a time for ghoulish delights, not homeowner frights, but that’s exactly what your home might deliver. And when you have expected guests popping
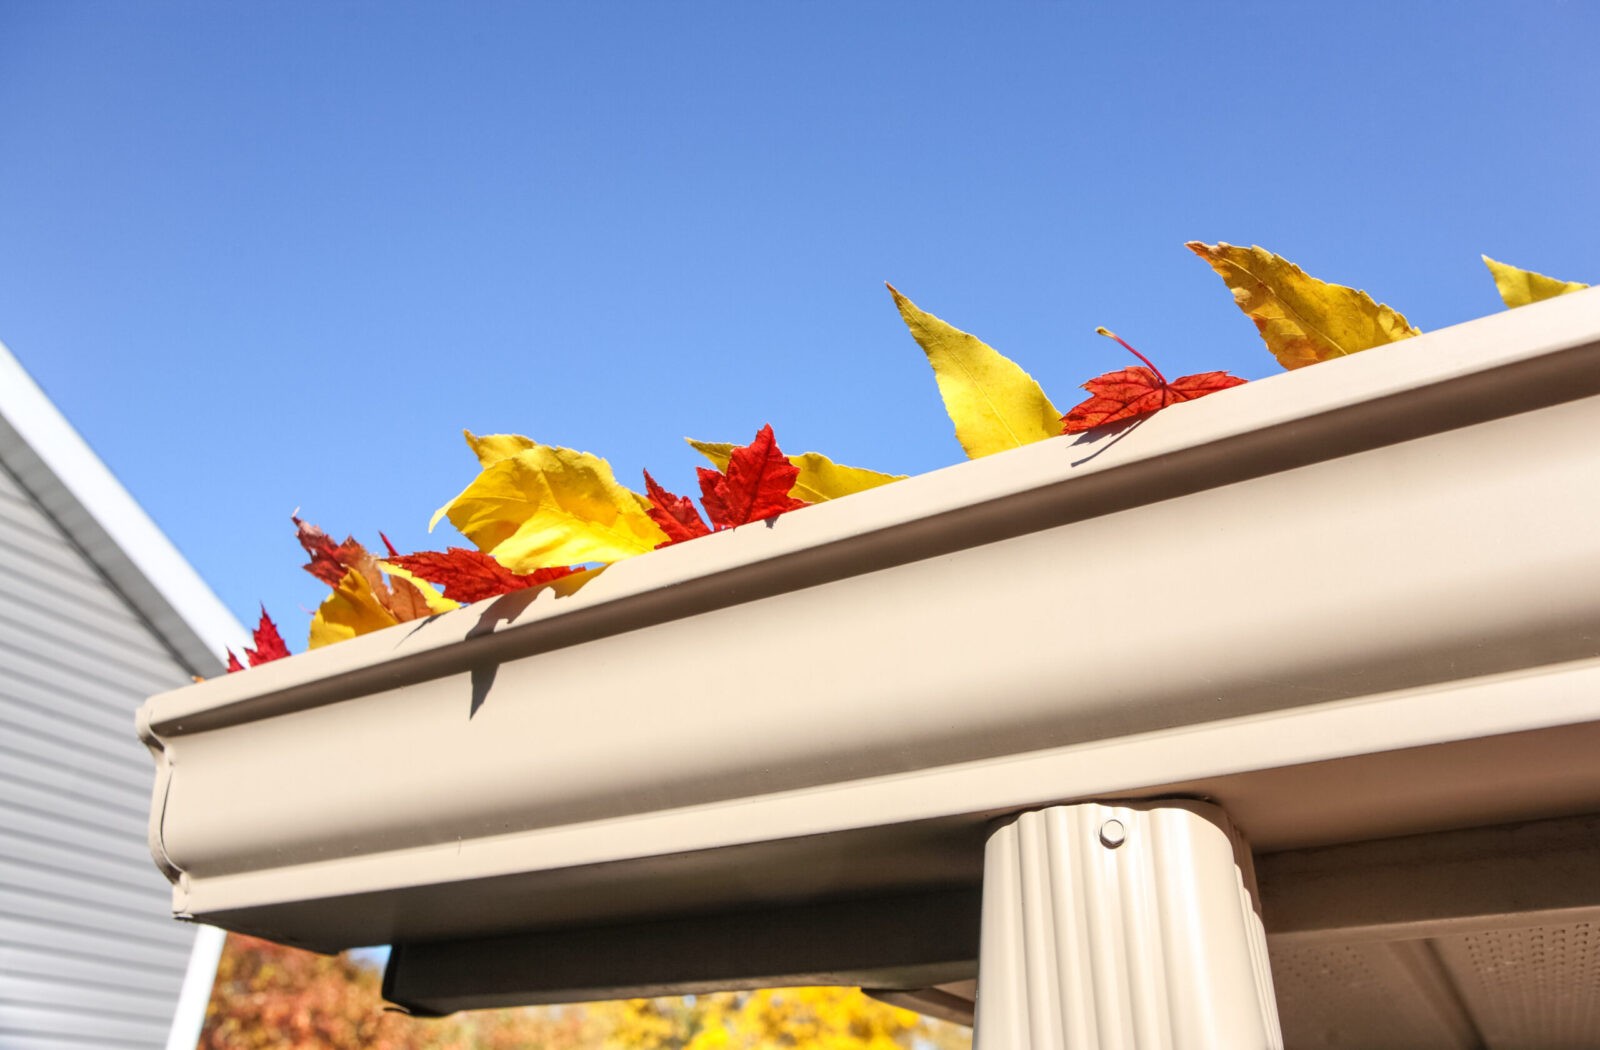
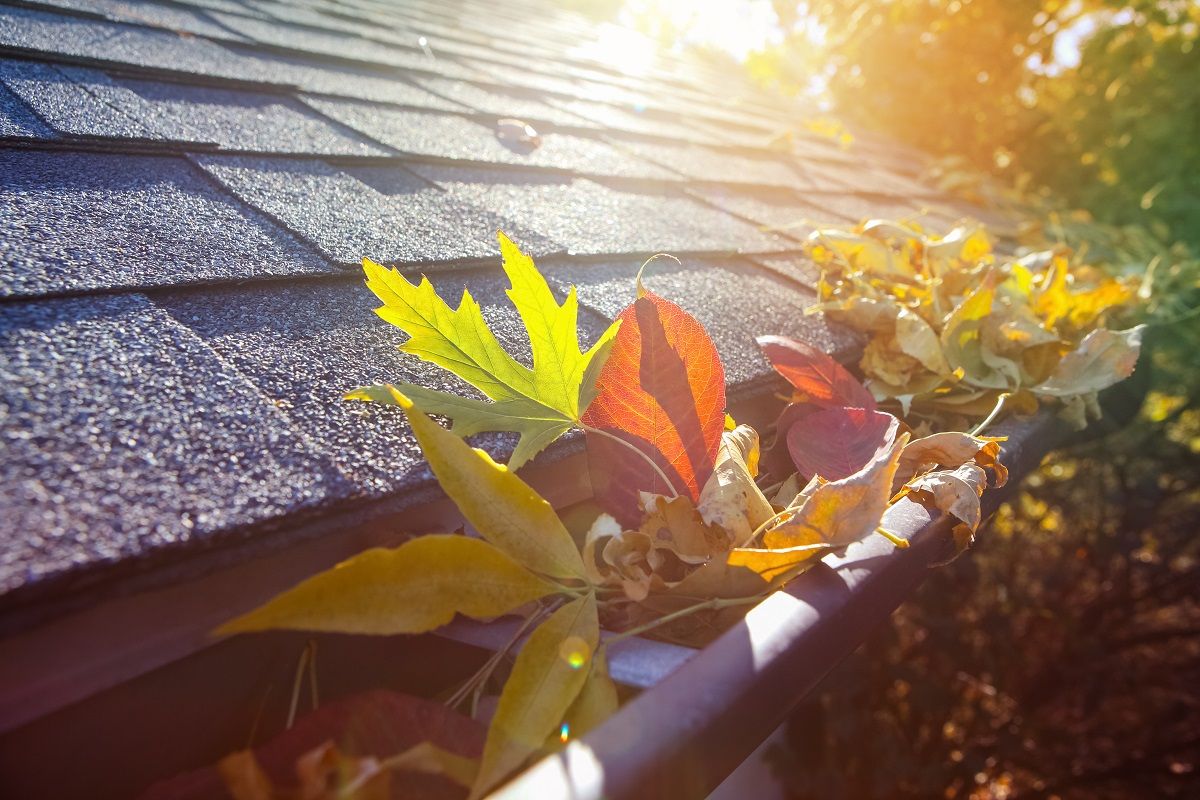
You need to get your mind in your gutter twice a year (figuratively speaking, of course). If you leave your gutters alone for too long,